Hey there, fellow homeowner! Ever wondered why that crawl space of yours is always damp? Or maybe you’ve noticed a puddle forming down there? You’re not alone. Many homes, especially those built a few decades ago, come with a cozy little crawl space instead of a sprawling basement. And while it might seem like a minor detail, a wet crawl space can spell big trouble for your home’s foundation and air quality.
So, what’s the solution? You guessed it – a sump pump! Installing one might seem like a daunting task, but trust me, with the right guidance, you’ll have it up and running in no time. And the peace of mind you’ll gain? Absolutely priceless.
Pro Tip: Before diving into the installation, it’s crucial to play detective. Investigate and pinpoint the root cause of that unwanted moisture. Addressing the source of the problem will ensure your sump pump works efficiently and lasts longer.
In our journey together, we’ll explore:
Ready to transform that damp crawl space into a dry haven? Let’s get to it!
Why is your crawl space wet?
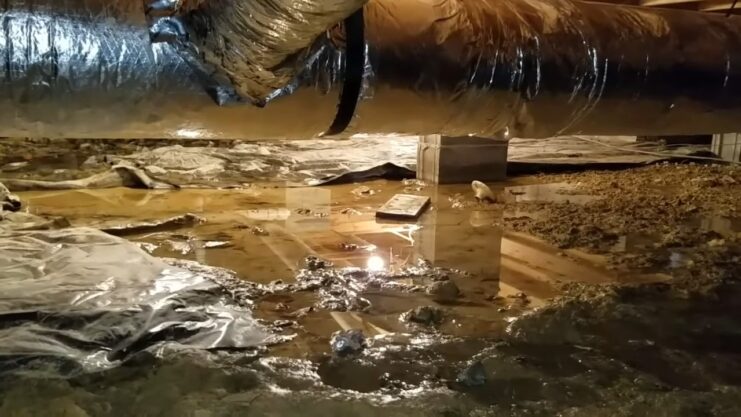
Ever scratched your head, wondering why your crawl space feels more like a swamp than a storage area? Understanding the root cause of that moisture can save you a lot of time, effort, and yes, even money. Sometimes, identifying and fixing the issue might mean you can skip the sump pump installation altogether. But if the wetness persists, well, it might be time to consider that sump pump. Here are some common culprits behind a damp crawl space:
- Absence of Proper Drainage: Without a good drainage system, water has nowhere to go but inside.
- Living in a Humid Climate: Some places are just naturally more humid, and that moisture can seep into your crawl space.
- Missing Moisture Barrier: Without a barrier between the soil and your crawl space, dampness is bound to creep in.
- Plumbing Mishaps: Leaky pipes can quickly turn your crawl space into a mini pool.
- High Groundwater Levels: If the groundwater level is above your floor, it’s like living above a hidden pond.
Fun Fact: Did you know that consistent dampness in your crawl space can affect the air quality.
How to Install a Sump Pump in a Crawl Space
Before we jump in, make sure you’ve got all your tools at the ready. If you’ve opted for professional help, you can sit back and supervise. But if you’re going hands-on, gather your shovels, hand tools, and buckets. And don’t forget a good light source – crawl spaces aren’t known for their ambiance!
Pro Tip: Always double-check your tools list before starting. It’s a real mood-killer to find out you’re missing something halfway through!
1. Planning

Every successful project starts with a solid plan. Begin by scouting your crawl space to find the most strategic spot for your sump basin. It should be central to effectively collect water and near an outlet for power. Also, think about the drainage pipe’s path. Where will it run? Where will it exit your home? These decisions are crucial for the next steps.
2. Digging
This step requires some elbow grease. Start by digging a hole for the sump basin. It should be deep enough to house the basin with some room to spare. Next, dig a trench for the drainage pipe. This trench will guide excess water away from your home. If you’re unsure about the depth or direction, consulting a professional can save you from potential mishaps.
3. Sump Pump Basin Prep/Installation
Once your hole is ready, prepare the sump pump basin. If it doesn’t come with pre-drilled drainage holes, you’ll need to make some yourself. Before placing the basin in the hole, line the bottom with a layer of gravel. This aids in drainage and provides stability. Lay your drainage pipe, ensuring it’s positioned correctly. Fill the surrounding area with gravel, stopping about 2” from the top.
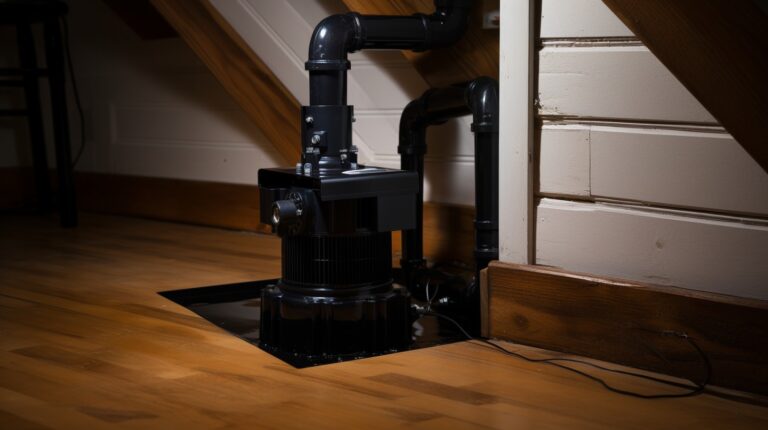
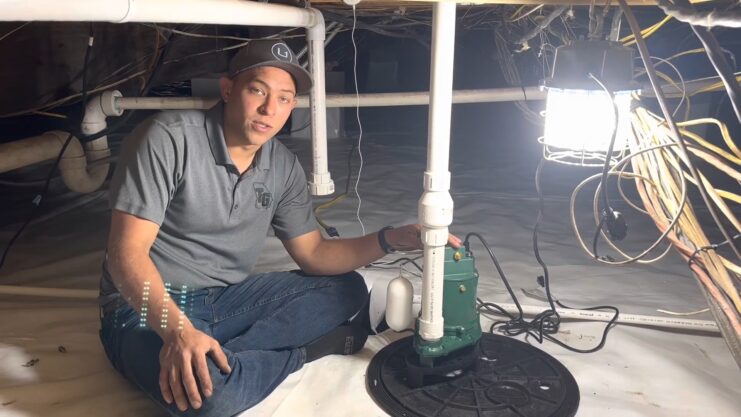
4. Installing your Sump Pump
Now, for the main event! Carefully place your sump pump into the basin. As you connect the plumbing, ensure there are no kinks or obstructions. A weep hole in the PVC pipe, about 6” from the pump connection, can prevent airlocks and improve water flow.
5. Cover and Connect
With the sump pump snug in its new home, it’s time to cover it. A proper cover prevents debris from entering and reduces noise. Next, connect the pump to the discharge line. Remember to check local building codes to ensure your setup is compliant. Lastly, connect the power cable, ensuring it’s safely away from water sources.
6. Finish up the Crawl Space
Give your crawl space a finishing touch. Add more gravel around the sump pump for added stability and better drainage. For the drainage line’s exit, drill a hole through your home’s wall, ensuring it’s sealed to prevent pests and debris. The pipe should extend at least 4’ from your home to ensure water is directed away from the foundation.
7. Connect to Power
It’s time to bring your sump pump to life! Plug it in and watch as it starts working. It’s a rewarding moment, seeing your hard work pay off. With the pump running, your crawl space is now better protected against moisture and potential damage.
Fun Fact: A sump pump not only protects your home but can also reduce the risk of mold and mildew, leading to a healthier living environment.
After installation, run a test to ensure your sump pump is working as it should. Pour some water into the basin and watch the pump do its magic. It’s always better to spot potential issues now than during a heavy rainstorm.
FAQ
How often should I test my sump pump once it’s installed?
It’s recommended to test your sump pump every 3-4 months and always before the rainy season begins.
Can I install a backup battery for my sump pump?
Absolutely! A backup battery ensures your sump pump works even during power outages, offering added peace of mind.
How long does a typical sump pump last?
With proper maintenance, a sump pump can last anywhere from 7 to 10 years before needing replacement.
Are there different types of sump pumps to choose from?
Yes, there are primarily two types: submersible pumps, which sit in the water, and pedestal pumps, which sit above the basin.
How do I maintain my sump pump to ensure longevity?
Regularly check for debris in the basin, test the pump by pouring water into it, and inspect for any signs of wear or damage.
Is there a risk of the sump pump freezing in colder climates?
Yes, there’s a risk. To prevent freezing, ensure the discharge line is sloped away from the home and is adequately insulated.
Conclusion
Installing a sump pump in your crawl space is more than just a home improvement project; it’s an investment in the longevity and health of your home. By taking proactive steps, you not only protect your foundation from potential water damage but also create a healthier living environment by preventing mold and mildew growth.
Whether you’re a seasoned DIY enthusiast or someone seeking professional help, understanding the process empowers you to make informed decisions. Remember, a dry crawl space is a happy crawl space. Here’s to many dry and worry-free days ahead!